
James (I mean Scott) explaining how the stereo remote works. Question: Why does the stereo in a car need a remote?

This is me taking the miata for a last drive. A very short last drive to the site of the crime!

Q: Why does this man look so happy? A: He doesn't know what's in store for him...

Voila! Wedged into a corner in Huey's studio between an old Chevelle convertible and a wall of miscellaneous parts.


We took the Volvo (not pictured -- you didn't really think I let James (err Scott) ride in the front of a two-seater did you?) Back to the house to ferry the rest of the BB-600 cells to the workshop. Upon our return we found Archie (another of the eclectic denizens of Huey's Hobby World) primering a truck hood 5 feet from my precious baby. The short term solution is a tarp. Longer term, I'm wondering if I've made the right choice of a site for the conversion...


Might as well get to work! For no particularly pressing reason I decided to start by removing the seats. Mazda employs a crew of specially trained orangutans to tighten the bolts that hold the seats in. This is a good thing in case you do any inverted driving you can be absolutely sure the seat will stay in place. But it makes removal a challenge. I believe these bolts were tightened to approximately 900 foot-pounds of torque. Torque is the product of the length of the lever and the amount of force applied at the end of it. The orangs probably just apply 900 pounds of force at the end of a 1 foot long wrench -- I used somewhat less force on the end of a somewhat longer wrench. I also found that a sprinkling of foul language seemed to help. (Scott wasn't in ear shot.)


In this photo you can catch a glimpse of some of the riches awaiting us after seat removal.


We netted 42 cents after getting both seats out. The answer to the ultimate question of life the universe and everything!

Here's Scott observing from the freshly demounted driver's seat. Richard gave him that burntout lightbulb earlier in the afternoon to add to his collection.

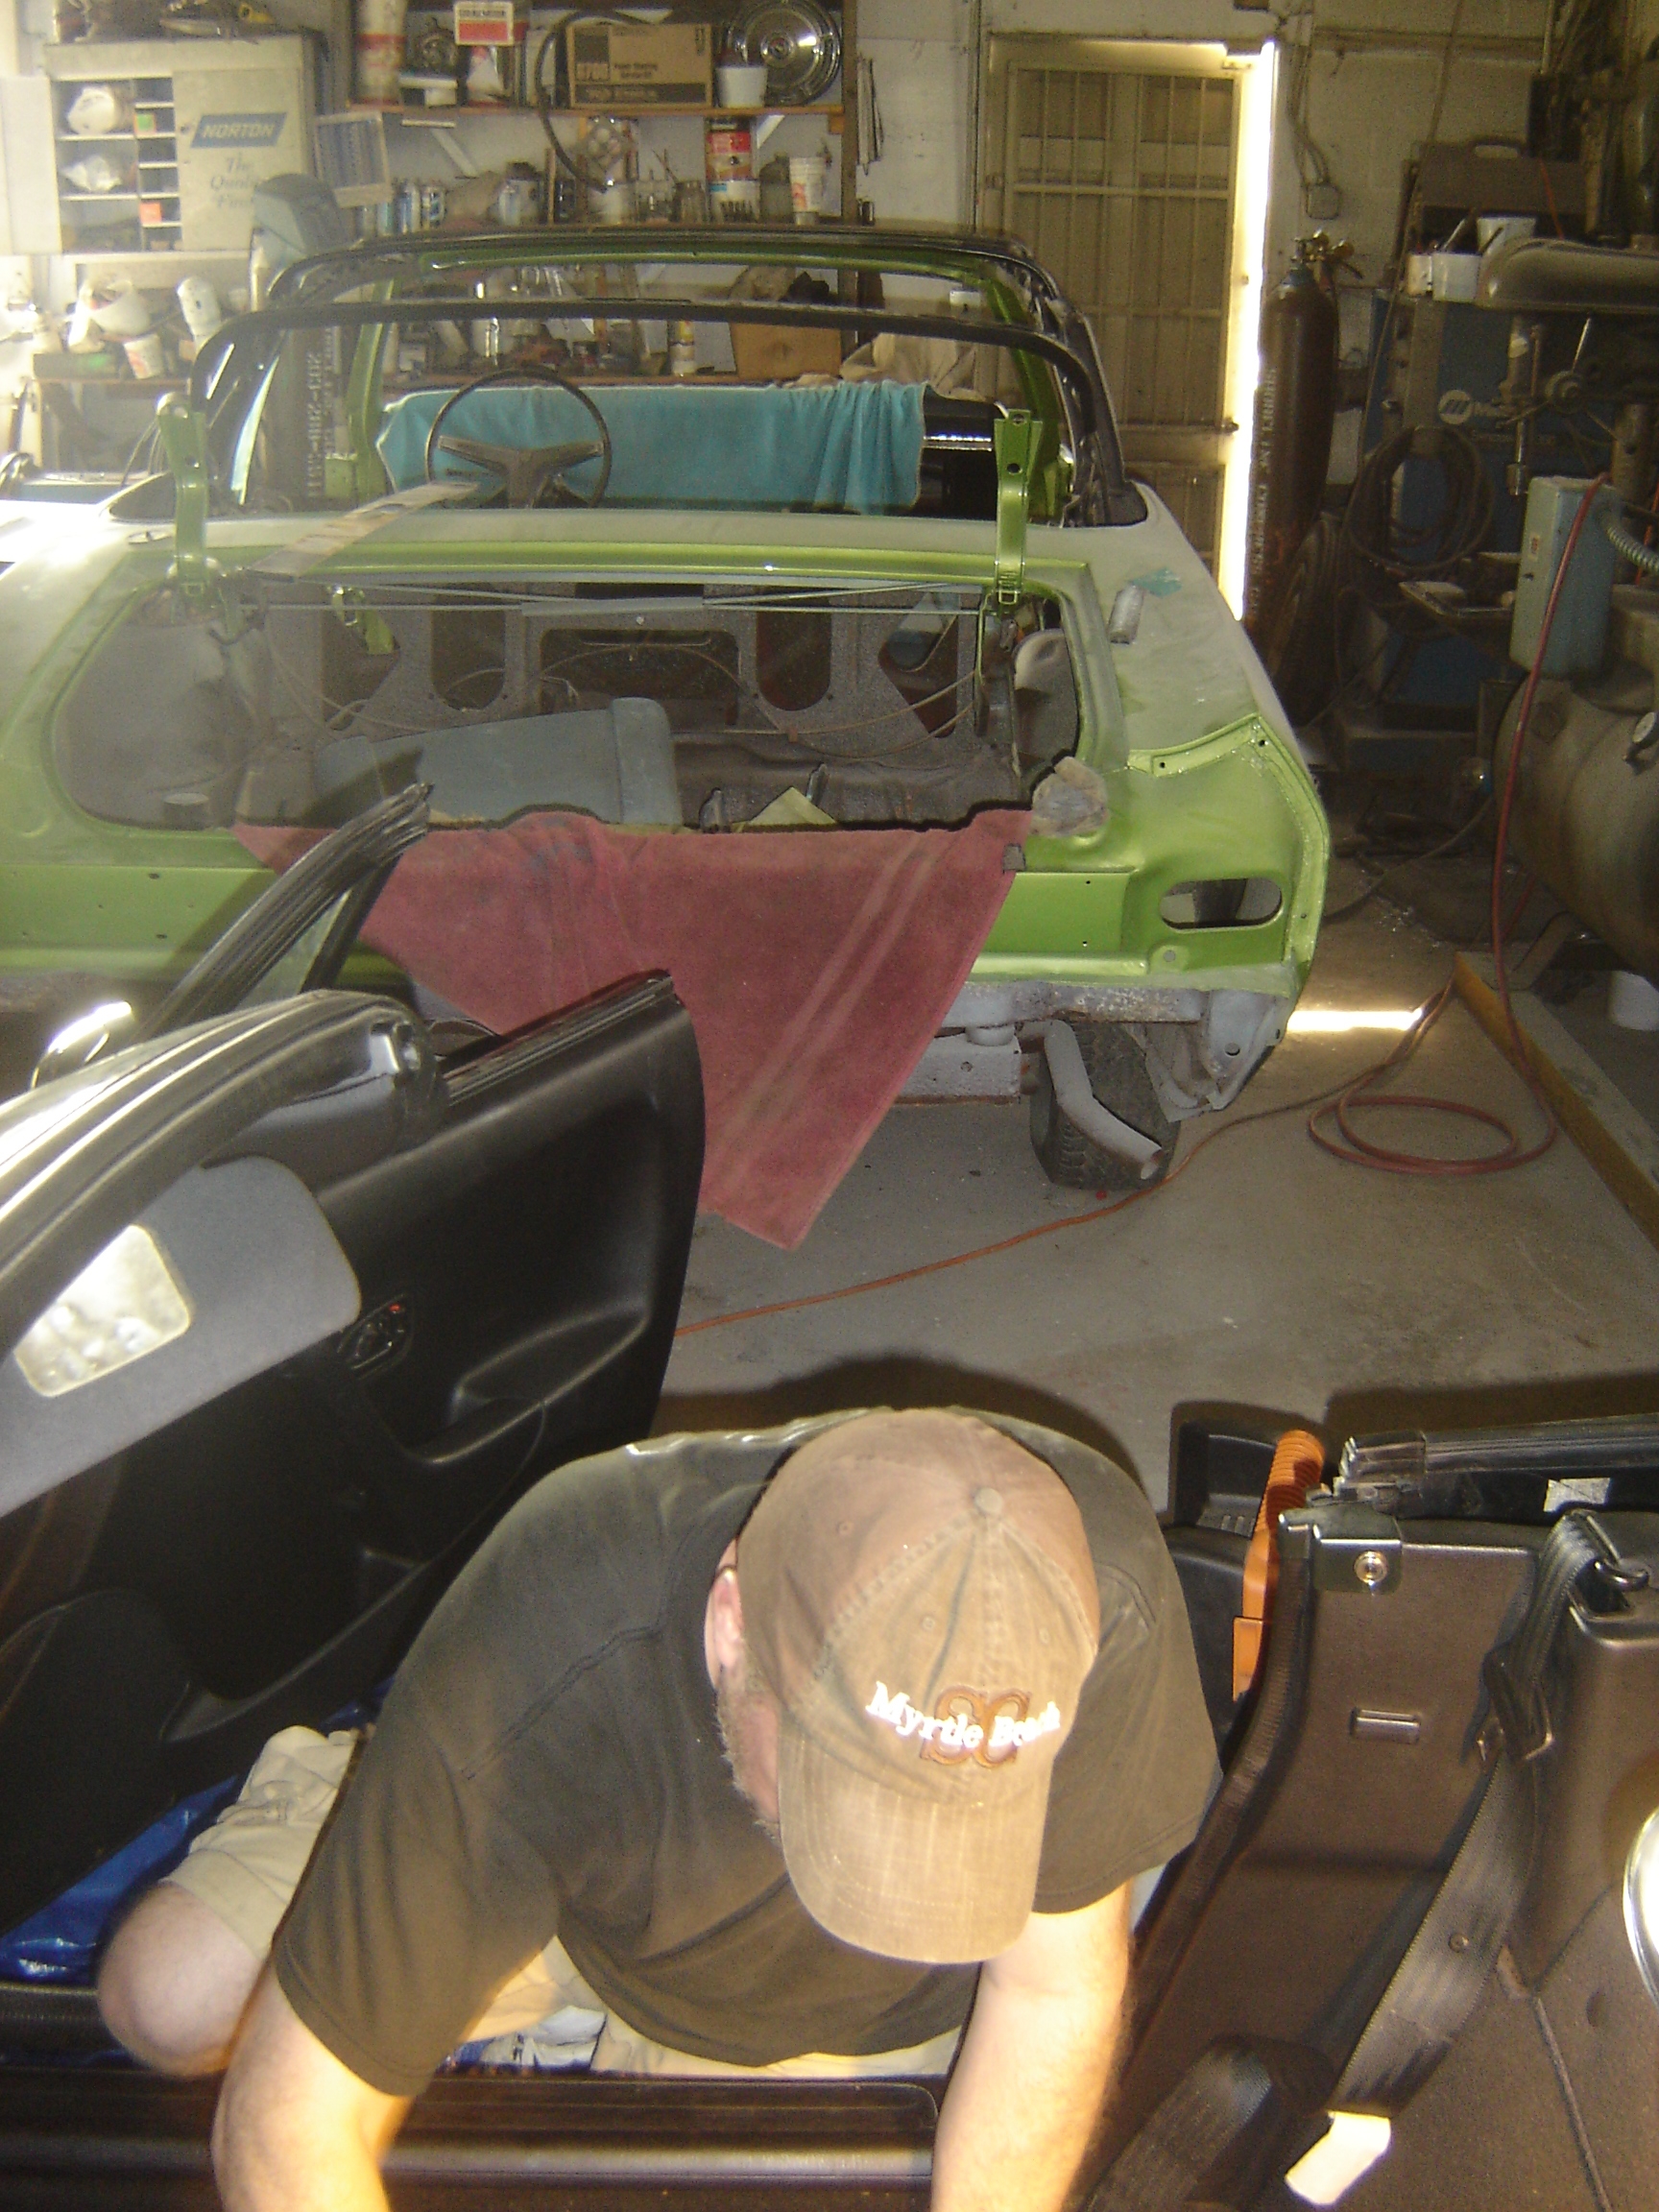
Having noticed that my form was off, James (Scott) helped me to keep my head down while getting those front bolts. These seemed even tougher than the left side -- probably because the linguistic detorquing aid was no longer an option.

When one's language is restricted, facial grimaces can often help.

Now we're up to 42 cents AND a Beatles CD.


Probably an inordinate amount of joy to feel over out-muscling a group of Japanese orangutans...

Got James to help with shop-vacing eight years worth of crud out of the carpets.


I think he was singing to me but I couldn't hear over the vacuum.

Still vacuuming...

I wanted to remove the convertible top next (I figure I'll store
the top and the seats in our basement as they'll just be in the way
for the next few months.)
 First step in getting the top off is removing the
carpet that covers the package rack behind the seats. This carpet is
held on by a few hundred of these annoying plastic barbed caps. The shop
manual suggested either using two screwdrivers or a "cranked" pair
of needle nose pliers (pliers with the ends bent over). Two screw drivers
works quite well if speed is not of importance. I didn't want to try to crank
my needle nose pliers as I feel certain their steel is quite hard and there
would have to be some kind of heat treatment involved. I was really pleased to
discover that an ordinary nail puller does a really decent job with these
caps.
First step in getting the top off is removing the
carpet that covers the package rack behind the seats. This carpet is
held on by a few hundred of these annoying plastic barbed caps. The shop
manual suggested either using two screwdrivers or a "cranked" pair
of needle nose pliers (pliers with the ends bent over). Two screw drivers
works quite well if speed is not of importance. I didn't want to try to crank
my needle nose pliers as I feel certain their steel is quite hard and there
would have to be some kind of heat treatment involved. I was really pleased to
discover that an ordinary nail puller does a really decent job with these
caps.

You can tell by this photo that Summer has begun. My ever-present baldness-concealing ball cap has been ditched.

Finally, the rug is out!

We'll be back to finish the top removal tomorrow.